Make your own FM-1 skin
how I made mine at home, and what I bought to do it
Printed, laminated and cut at the kitchen table. About 38p a skin, plus ink.
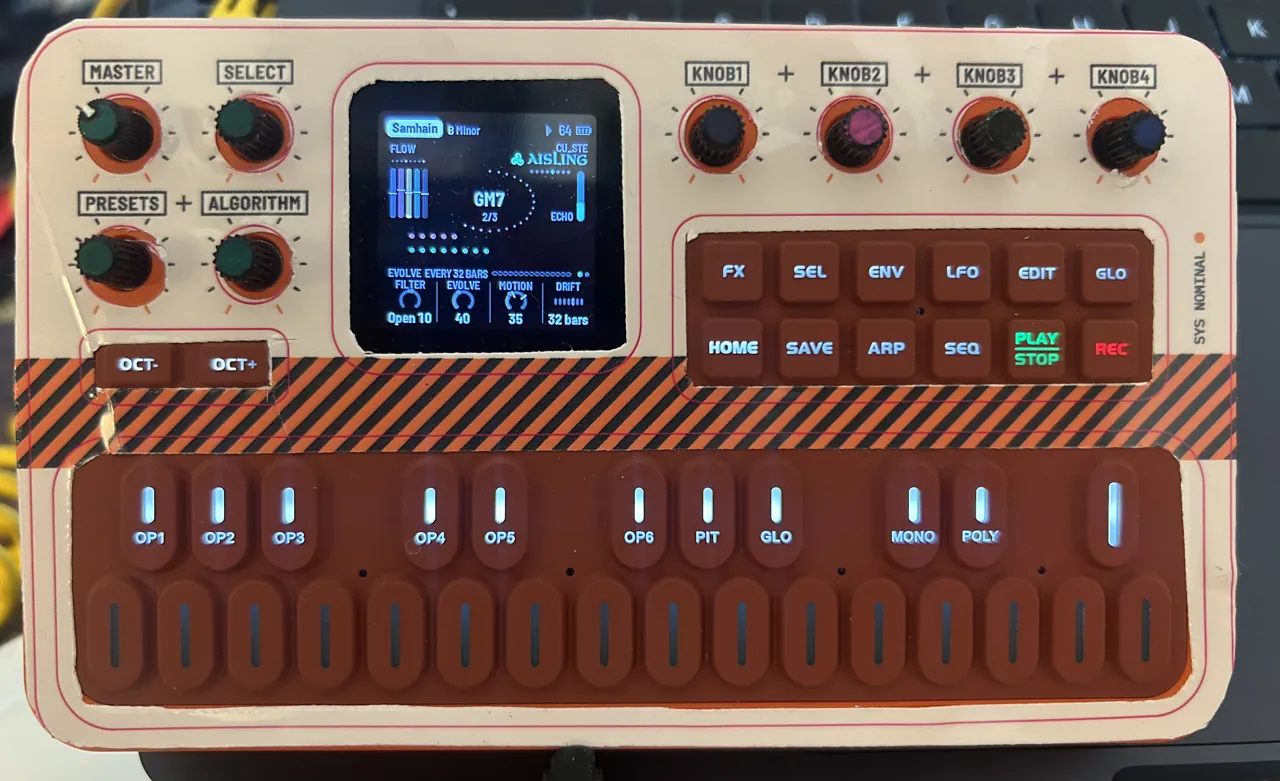
The Flight Deck skin I cut by hand, on my FM-1. The knob holes are rough.
A skin is a sticker that covers the whole top of the FM-1, with a hole for every knob, the screen and each tray of buttons. Before I asked a printer to make them, I made my own at the kitchen table. It took three things from Amazon and three I already had. The materials come to about 38p a skin, plus ink.
three things from amazon, three i had
What I bought
The UK links are the exact things I bought. None of the three is listed on Amazon.com, so the US links are searches for the same kind of thing, which I haven't tried. In the US the paper is Letter size, not A4.
What I already had: an ordinary inkjet printer (an HP ENVY 6000), a sharp craft knife, a steel ruler, and a plastic bread board to cut on.
What a skin costs. Two skins fit on one A4 sheet. A sheet of vinyl is 40p and a sheet of film is 36p, so each skin takes 20p of vinyl and 18p of film: 38p, plus ink, which I haven't costed. The punch is bought once.
two photos and a paper test
Where the designs came from
Nobody publishes where the FM-1's knobs and buttons sit, so I took two photos of mine from straight above. Then I worked with Claude Code, an AI coding tool. It wrote small programs that squared the photos up to the size of the case, 161.5 × 96.5 mm, and measured from them where the screen, the knobs and each tray are.
The two photos agree to about half a millimetre in most places. The worst is the left edge of the tray of keys, where they differ by 0.8 mm.
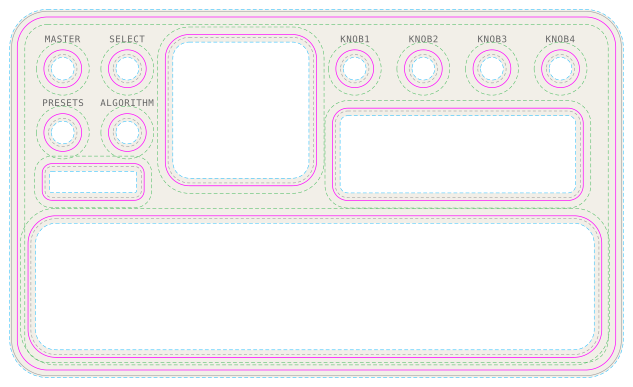
Those measurements make one cut line that every design shares. The designs are drawn by programs too, around that line, and come out as a PDF at exactly life size. Before any vinyl, I printed the outline on plain paper, cut it out and laid it on the FM-1. Every hole fitted first time.
Download the blank template (PDF, one A4 page, 11 KB). It has the cut line at life size, the knob names a skin covers, and a 50 mm square to check the print. It fits US Letter paper too. Print it on plain paper, cut it out and try it on your own FM-1 before you draw anything on it: I measured one FM-1, and yours may differ a little.
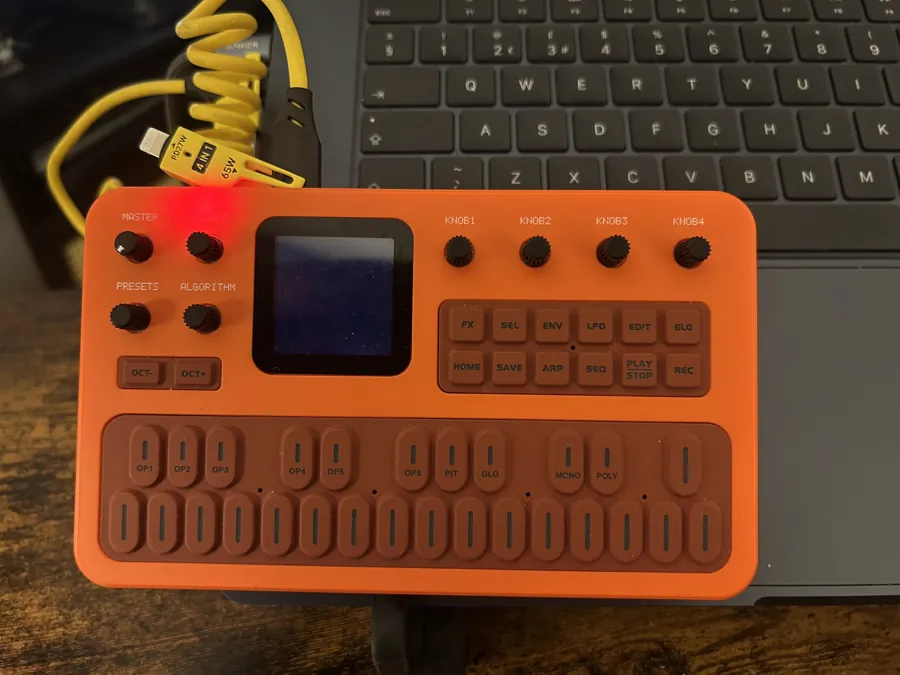
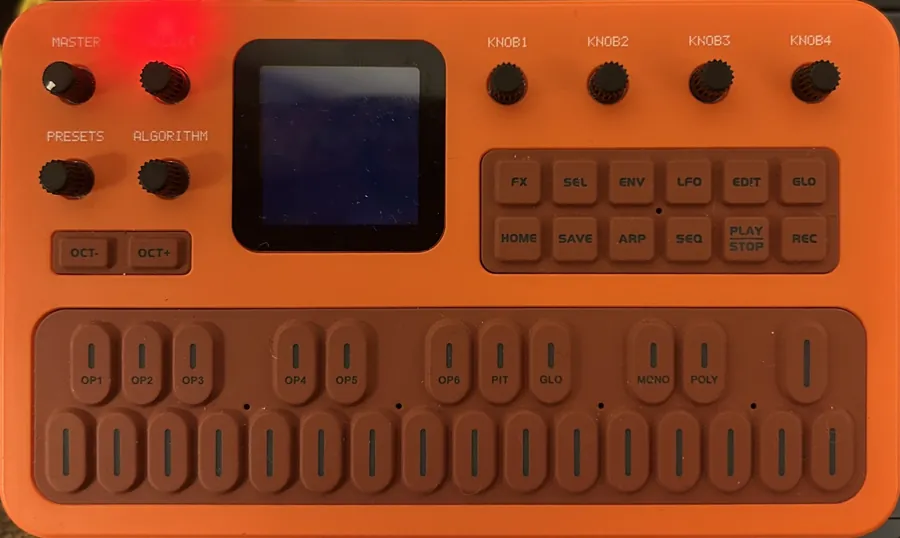
one of the two photos as I took it, and the same photo squared up to the case
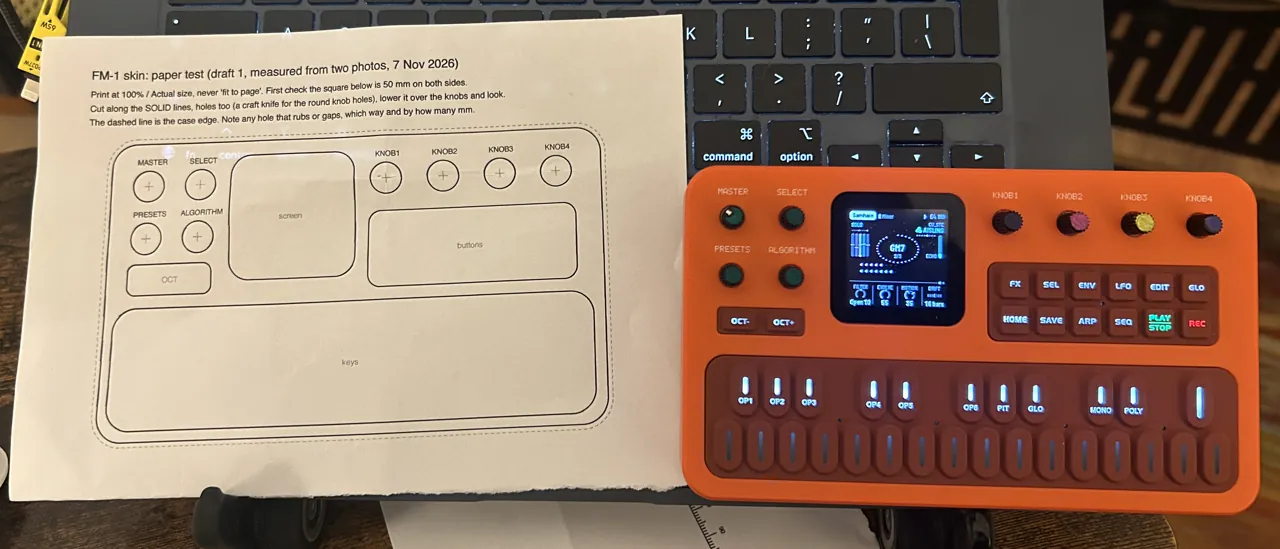
the outline on plain paper, before cutting, beside the FM-1
seven rules and a template
Draw your own
These are the rules my designs keep to. The first five come from the measurements and the last two from the test sheet below.
- The skin stops 1.5 mm in from the edge of the case, because that edge is rounded.
- The holes for the screen and the trays are 0.75 mm bigger than each all round.
- The knob holes are 10 mm, which leaves 1.25 mm round each knob, so the skin lowers straight over them.
- The art runs 2 mm past every cut line, so a cut that wanders shows no white. Words stay 2 mm inside it.
- There isn't much room. The narrowest strip, left of the keys, is about 2.9 mm wide. The only spare space for a mark of your own is the strip right of the tray of buttons, about 4.6 mm wide.
- The skin covers the eight knob names printed on the case, so each design prints them again in the same places.
- No line thinner than 0.2 mm, and no capitals under 1.2 mm high (1.4 mm for light on dark).
Download the drawing template (SVG, 14 KB, life size in millimetres). It has layers for the art, the cut line, the 2 mm lines either side of it and the knob names, labelled for Inkscape, which is free. I've only used it from my own programs, not drawn on it by hand.
one sheet of questions
The test sheet
A screen can't tell you what an inkjet will do on vinyl. So before printing any skin, Claude Code and I made one sheet of questions, and I printed it. Claude Code wrote a short program that draws the sheet from the same colours, fonts and line widths the skin designs use, so whatever the sheet showed would hold for the skins. I did the looking: I printed it, laminated the right half only, rubbed it, cut it and read it, and told Claude Code what I saw. It wrote the answers down as rules for the designs.
- Lines. Seven widths from 0.10 to 0.50 mm, printed dark on white, white on dark, and pink on indigo. 0.20 mm was fine and 0.25 mm was sharp in all three. So no design has a line under 0.2 mm.
- Font sizes. The same words in capitals from 1.0 to 2.0 mm high, in the two fonts the skins use, on white and on dark. At arm's length I could read 1.2 mm, though it's very small, and 1.4 mm was comfortable. So nothing is under 1.2 mm, and light text on dark is 1.4 mm or more.
- Colours. Bright screen colours often print duller. Each pair on the sheet is a colour as designed, beside a nearby one that should print more truly. Of the pairs I've compared, an orange and a purple printed clearly darker than designed, so the designs use the safer ones, and another orange looked about the same either way. I haven't compared the rest yet.
- Darks. Eight dark patches, to see whether the ink smudges. It didn't, bare or laminated, even under a damp finger a few hours after printing.
- Cuts. Boxes with the art at different distances from the cut line. Cut along a ruler, every gap looked even. The knob holes cut with a knife came out rough, which is why I bought the punch.
- Size. The 50 mm square and the 100 mm rule both measured true.
These answers are for my printer (an HP ENVY 6000 with HP's own ink) and this vinyl. Yours may differ, so print the sheet on your own before you trust a thin line or a small letter.
Download the test sheet (PDF, one A4 page, 645 KB). The labels on it are my own working notes: "print-safe" is the safer colour of each pair and "the brief's original" is the colour as designed.
seven steps
How I made it
- Print. At 100%, never "fit to page", on the printer's matte speciality paper setting at its best quality. Measure something on the print with a ruler before going on: mine has a 50 mm square for that.
- Let it dry. Mine was dry to a fingertip within the hour.
- Laminate. This is the hard part. Of my first two, one went on crooked and on the other a long bubble turned into a crease. What I do now: cut a piece of film a centimetre bigger than the skin all round. Peel back only the first 2 or 3 cm of its backing and stick that strip down along one edge. Then pull the backing out from underneath a little at a time, pressing the film down behind it with a card, from the middle outwards. Lift and re-lay a bubble while it's small.
- Punch the knob holes. Before any cutting, with the sheet flat on the bread board.
- Cut the windows. The screen and the trays of buttons, with the knife along the ruler. The corners are rounded, so those are done slowly by hand.
- Cut the outline last, the same way, through the print and the film together.
- Stick it on, starting from one edge.
Straight cuts along a ruler come out even. The curves are where a hand-cut skin shows it was cut by hand.
so you can skip it
What went wrong
- The ink. I bought compatible 305XL cartridges for the printing. The printer refused them with an error, E 0. So everything here was printed with the old HP cartridges, the colour one at 20%.
- The laminate. Both of my first two were spoiled, one crooked and one creased. A crease inside the outline is there for good. Step 3 above is what I do now.
- The knob holes. Cut with a knife they were rough, and there are eight of them. That's why I bought the punch.
- The colours. A bright orange and a purple printed clearly darker than they look on a screen.
- One guess that was wrong the good way. I expected bare ink to smear under a damp finger, since inkjet dye runs in water. It didn't, so the film is for wear, not for damp.
This is how I did it, not a tested set of instructions: a sharp knife and a struck punch can both hurt you, so take care. The skins aren't made or endorsed by M-VAVE.
Links marked ad are affiliate links: if you buy through one, I may earn a small commission, at no cost to you. As an Amazon Associate I earn from qualifying purchases. M-VAVE and FM-1 are trademarks of their owners, as are A-SUB, HTVRONT and HP.
This page sets no cookies and counts no visits.